
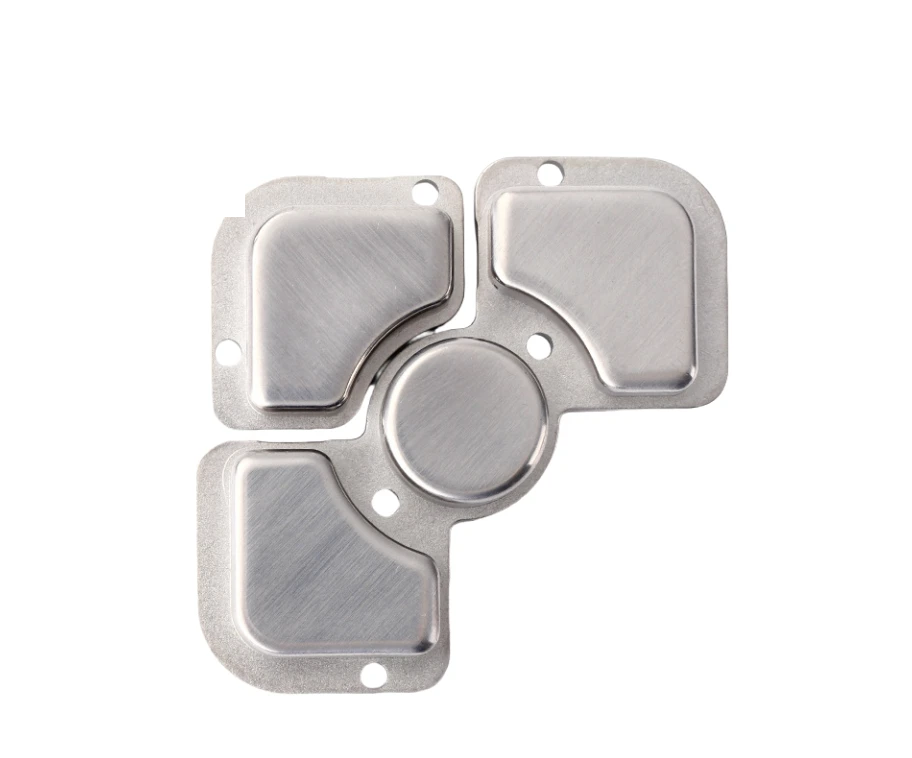
What metal keyboard buttons expose and connect
The reference contains several cap shapes, each with its own surrounding clearance and appearance requirements.
Cap perimeter, underside attachment and travel-envelope interfaces
Define the cap perimeter, underside attachment and travel envelope.
Identify the visible faces and any locating features that must remain distinct after polishing or coating.
Why approve appearance separately from key movement?
The visible cap can meet an appearance reference while its underside or perimeter does not fit the mechanism.
Separate acceptance criteria make both needs explicit.
A final assembled check then confirms that finishing has not compromised the operating interfaces.
MIM versus machining for cap and underside features
Compare MIM with machining or other forming routes for the cap and underside features.
Surface treatment must be considered before finalizing the guide or attachment dimensions.
Compare manufacturing capabilities →Keycap material, polished-face and coating requirements
Define base material, final condition and cosmetic finish separately.
Identify visible faces, permitted edge rounding and the dimensions that must be met after finishing.
Any magnetic, electrical or acoustic requirement needs its own specification.
Review material-selection information →Perimeter clearance, attachment and appearance-sample checks
Check perimeter clearance, attachment, edges and the agreed appearance sample.
Operating feel should be checked with the actual key mechanism.
Quality documentation →Why keycap cost is decided by cavity count
A keycap is small, light and bought in large numbers, which makes it the clearest case of a part where the tooling decision sets the price more than anything else. The choice of cavity count trades tool cost against piece cost.
| Cost element | Why a small order costs more per piece | Why a large order stops getting cheaper |
|---|---|---|
| Cavity count in the tool | A single-cavity tool is cheap but produces one cap per cycle. A multi-cavity tool costs several times more but produces many at once. The right count depends on the quantity that can be committed, which is why the first question on a keycap is annual volume. | The cavity count is fixed in the tool. Volume does not change it, so the piece cost curve is set before the first part is made. |
| Polishing of each visible face | Every cap in every cavity is polished. The operation is per part and the requirement is visual, so it cannot be inspected by measurement alone. | Automated polishing is possible for simple shapes, and it is a capital decision. Hand polishing stays hand polishing at any volume. |
| Coating and rack loading | Caps are small, so many fit on a rack, which is the good news. The bad news is that a PVD load is priced by cycle, and a small order still consumes a cycle. | This is the line that scales best on a keycap. Once a load is full, the cost per part is already near its floor. |
| Appearance inspection | Every visible cap is looked at, and looking is per part. Sampling can be agreed for some defects, but not for the ones the customer will see on the desk. | This is the line volume helps least. It is also the line most often removed by a customer to save money, and then regretted. |
| Perimeter fit against the housing | Perimeter clearance is set by the tool and then checked against the housing. The fixture is one-off, the check is quick. | The fixture is reused. A repeat order on the same cap skips the set-up, which is where the difference between the first and second quotation usually comes from. |
For a price comparison, use the same material, finish, order quantity and inspection requirements.
For a keycap, the only real lever is the cavity count, and it can only be pulled once. The useful conversation is therefore about a committed annual quantity against a tooling investment, not about a discount on the first batch. Below a certain quantity a single-cavity tool is right, and above it the same part becomes cheaper because a different tool was built.
What to include in your enquiry
- Drawing and mating dimensions.Define the cap perimeter, underside attachment and travel envelope. Include the drawing revision.
- Mating information. Include the assembly references needed to define the interfaces discussed above.
- Delivered condition. State material, finishing and inspection requirements, identifying any items that need a manufacturing recommendation.
- Supply plan. Include sample needs, expected order and annual quantities, packaging requirements and target timing.
- First-sample inspection.Check perimeter clearance, attachment, edges and the agreed appearance sample. Specify the mating part or inspection fixture.
Common questions
Can a polished appearance sample establish the button fit?
No. Appearance approval and dimensional approval are separate; inspect the attachment and travel interfaces in the finished condition.
Why approve appearance separately from key movement?
The visible cap can meet an appearance reference while its underside or perimeter does not fit the mechanism. Separate acceptance criteria make both needs explicit. A final assembled check then confirms that finishing has not compromised the operating interfaces.
How are appearance and functional fit checked?
Check perimeter clearance, attachment, edges and the agreed appearance sample. Operating feel should be checked with the actual key mechanism.